FROM ERIC TREADAWAY’S WORK STATION
FOUR HORSEMEN TOY DESIGN STUDIOS
BUTLER, NJ
Hey everybody, it’s Eric here from Four Horsemen Studios. These are the first two installments of a new feature called Desk Jockey. In these features I will be taking progress shots of figures that I’m working on right from my desk, and adding some commentary to give you some insight into the thought process behind these figures.
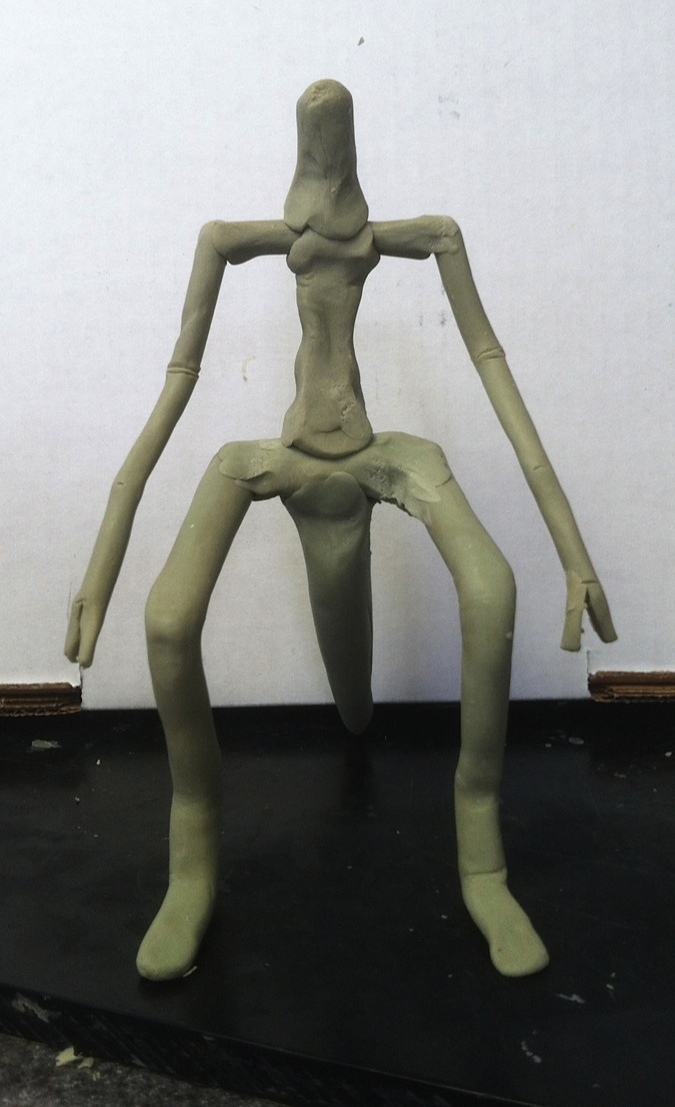
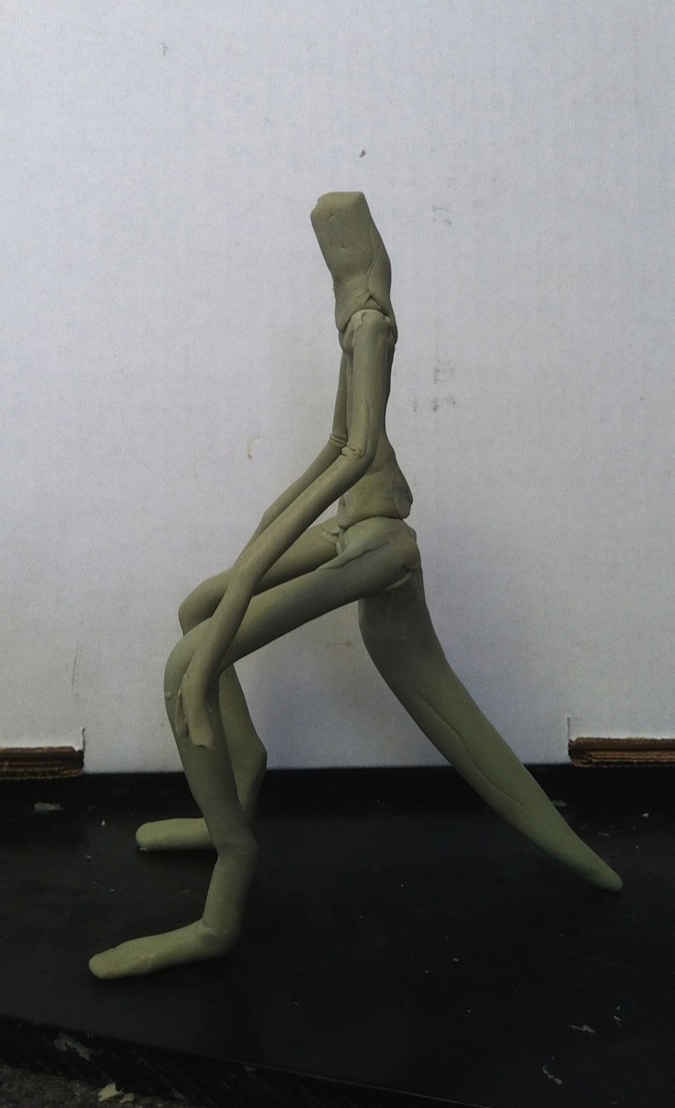
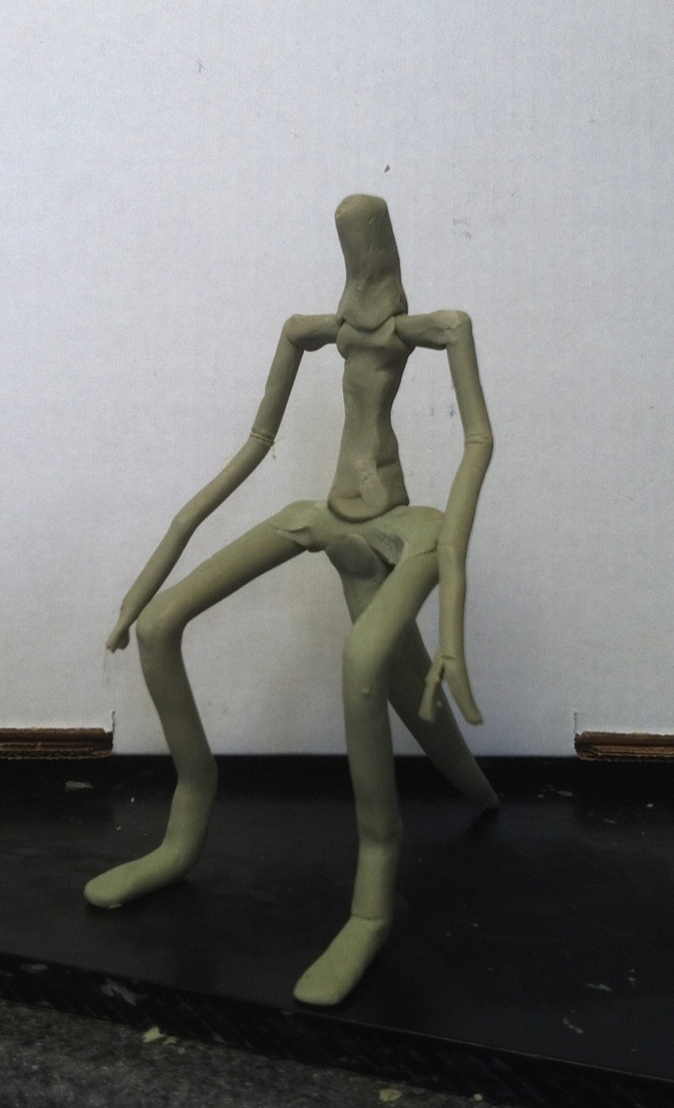
Our first round of images is a very early sneak peek at a figure that debuted at San Diego Comic Con. These images were taken within the first hour of work, and it shows the basic stick figure form that I start with on a new figure. This is where I really spend a lot of time doing the basic measurements and checking and re-checking the proportions against the control art. (If there is any!) Although this stage is only minutes into the process and it doesn’t look like much, this is a “make or break” stage of the process. If I get something wrong here it could come back to haunt me later in the process!
Desk Jockey: Sydot – Day One Part One
Treadaway’s Desk Jockey: Sydot – Day One Part Two
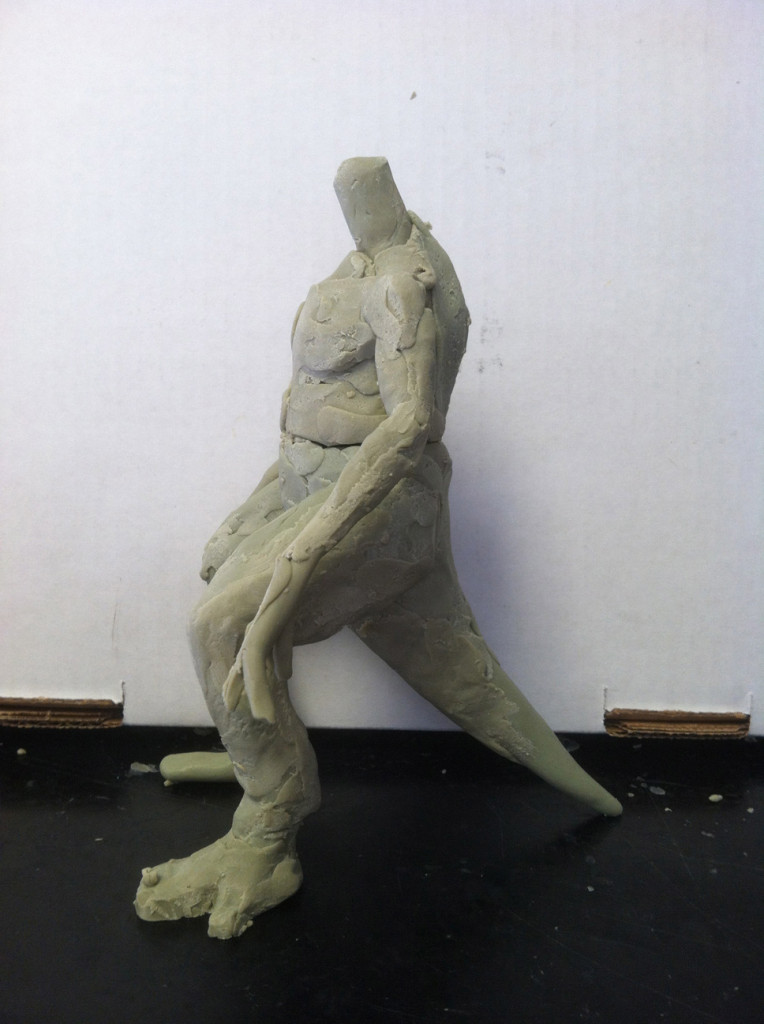
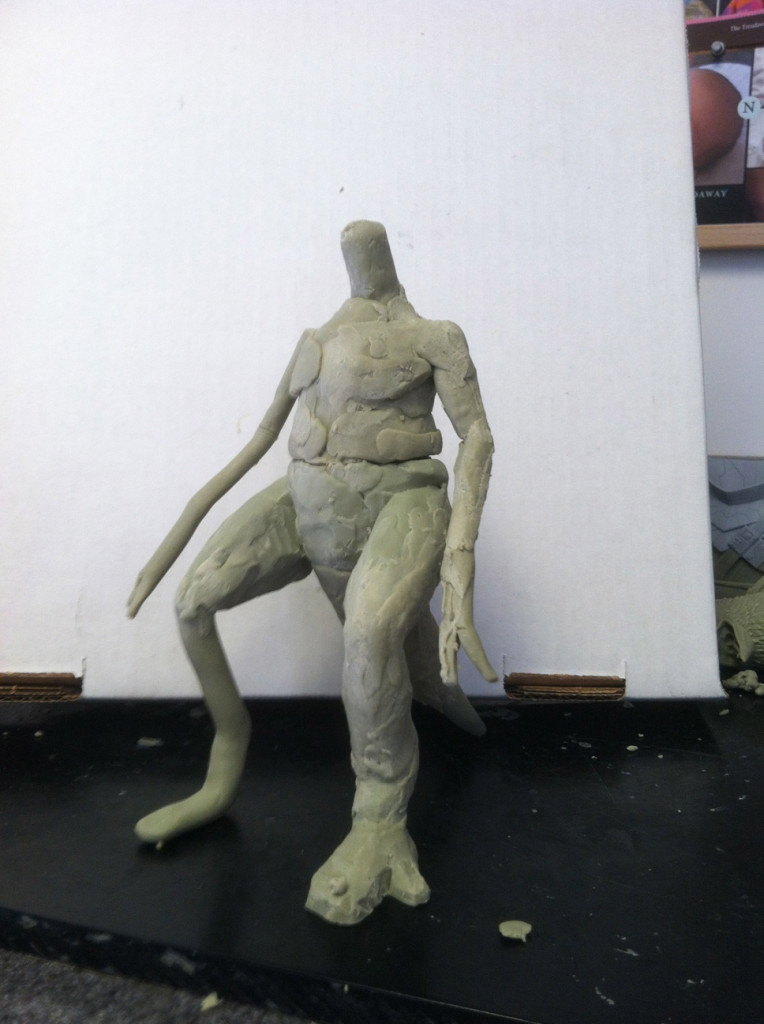
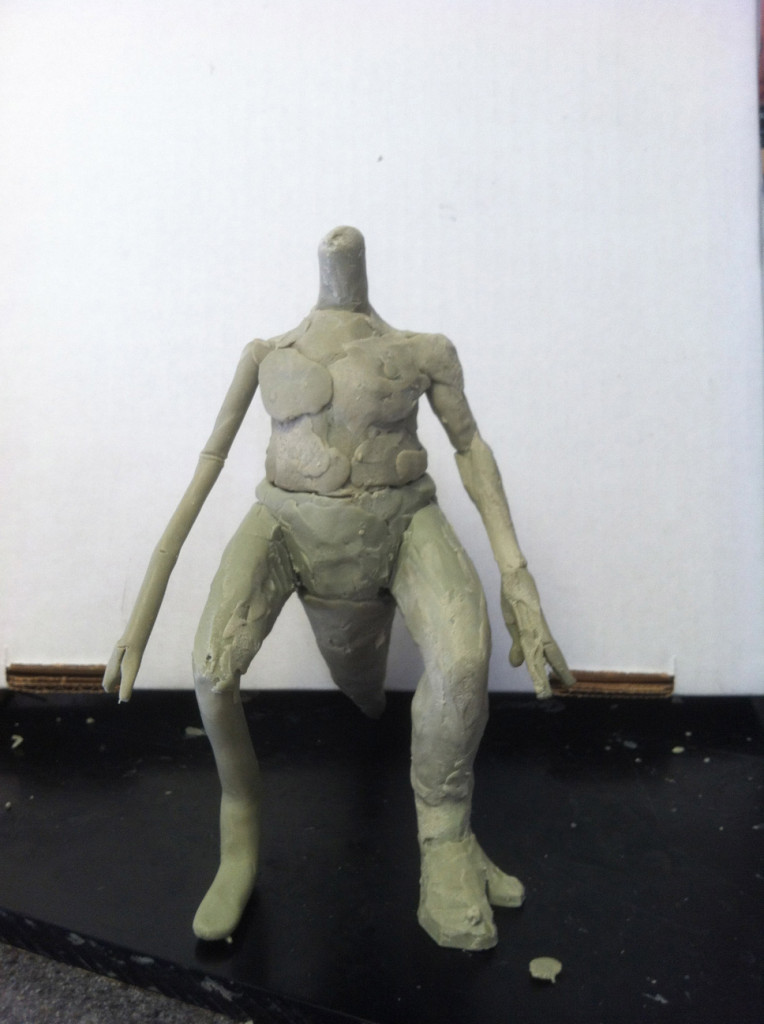
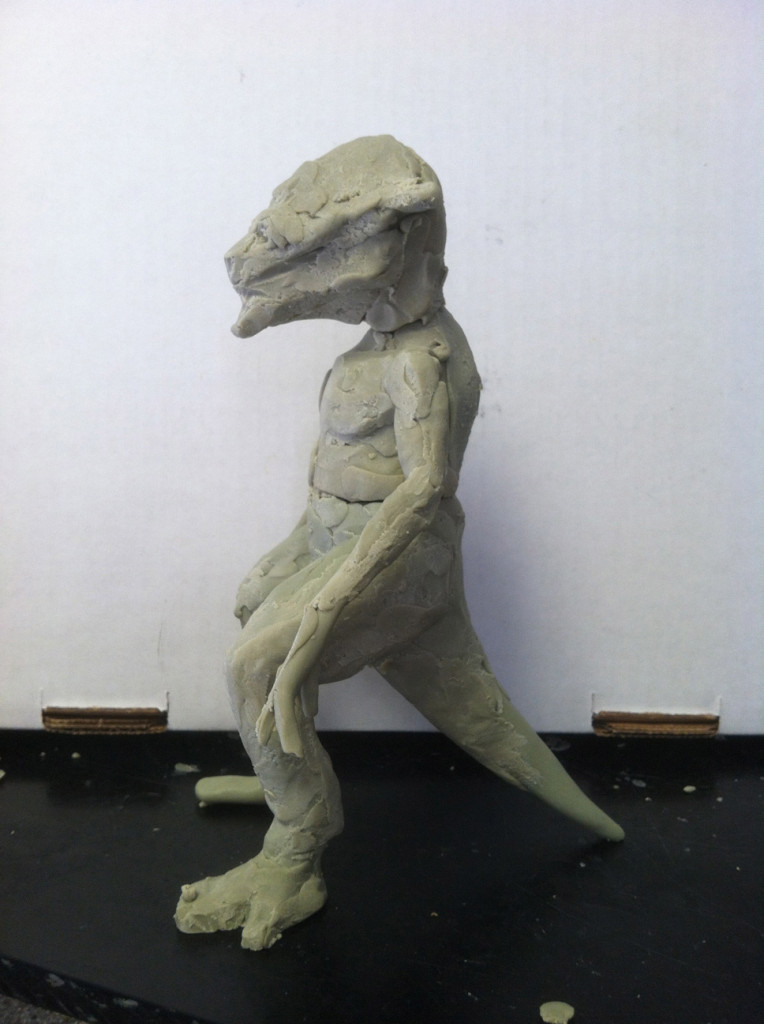
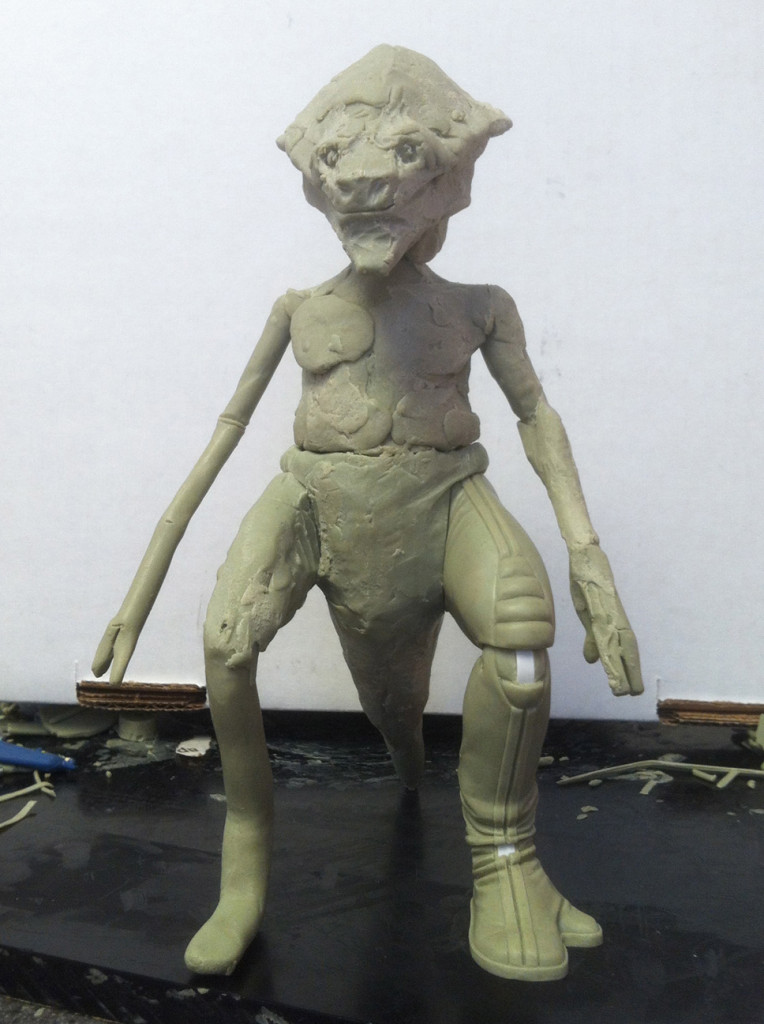
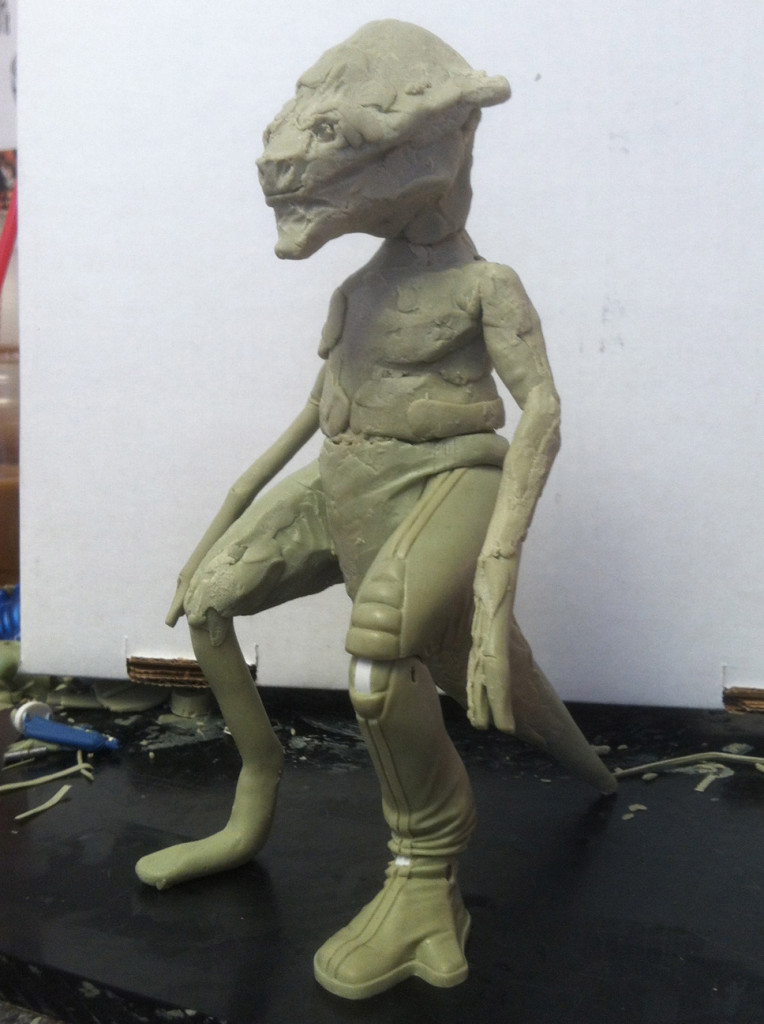
These images show what a few more hours of work can do to flesh out a figure. Some of the stick figure parts are still showing through, but this is where I start figuring out the mass of the figure. Luckily we have Wayne Barlowe’s original control drawings for these characters, so I have a very specific goal that I’m working toward here. When it’s a figure that doesn’t have control art, the process can be a lot more trial and error when trying to figure out what is or isn’t going to look right!
Treadaway’s Desk Jockey: Sydot – Day One Part Three
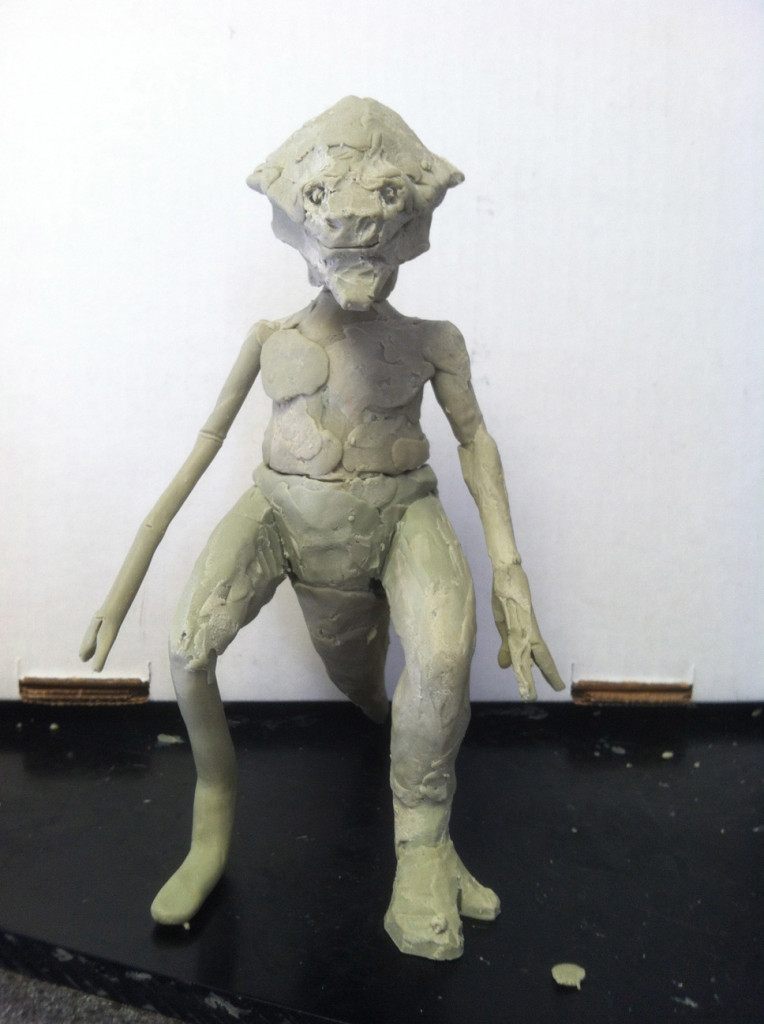
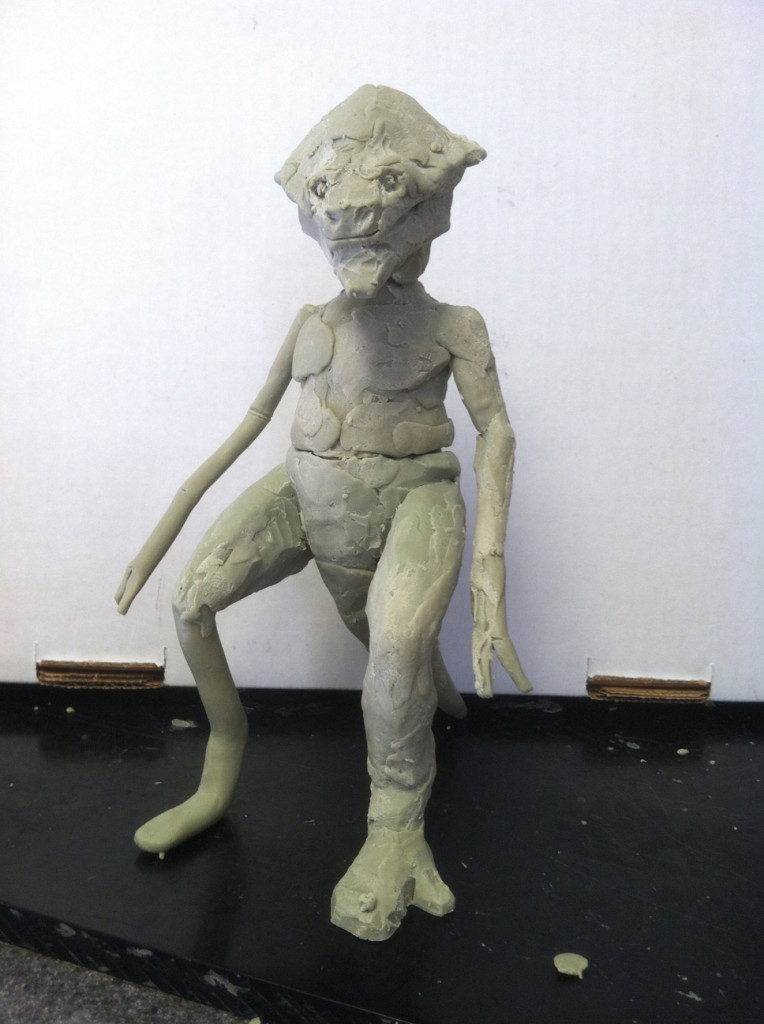
This is where I ended up at by the end of day one. I had to get that head roughed in so I could start to really see what this new Sydot figure was going to look like. I always want to get to at least this point by the end of the first day of sculpting so that I can start to accurately visualize where the figure is going. In many ways this first day is the most important 8-10 hours that will be spent on the project. It is also a lot of fun and very satisfying to go from an empty desk to something tangible in the course of a day!
Treadaway’s Desk Jockey Part Four: Sydot – Sized Up!
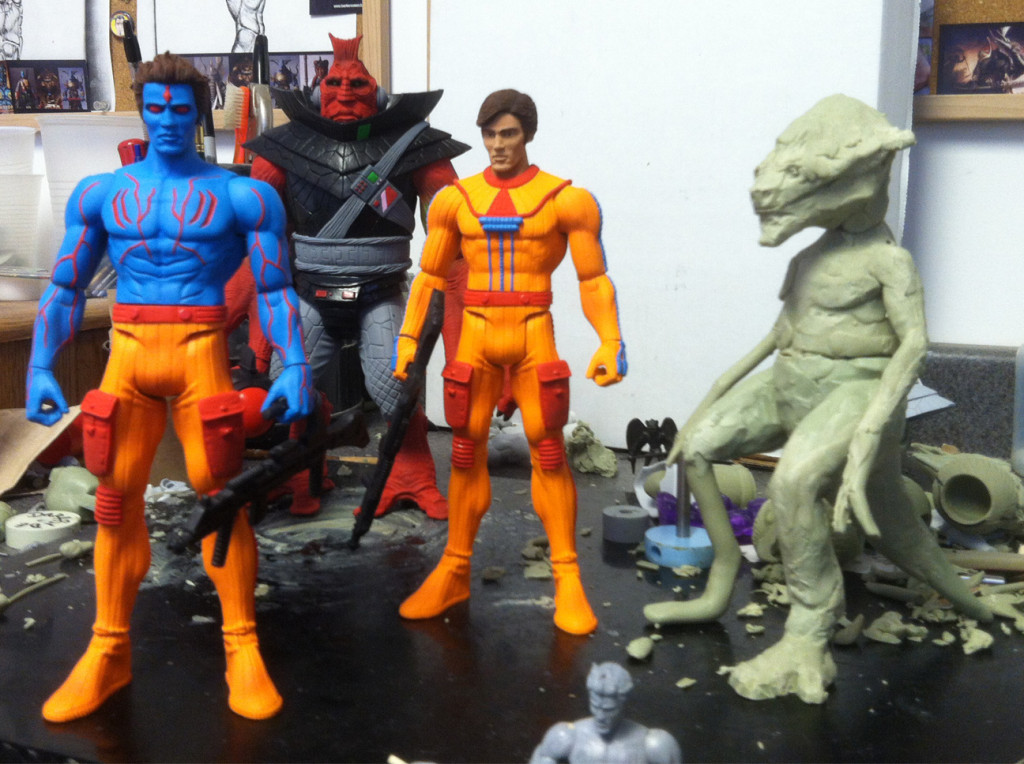
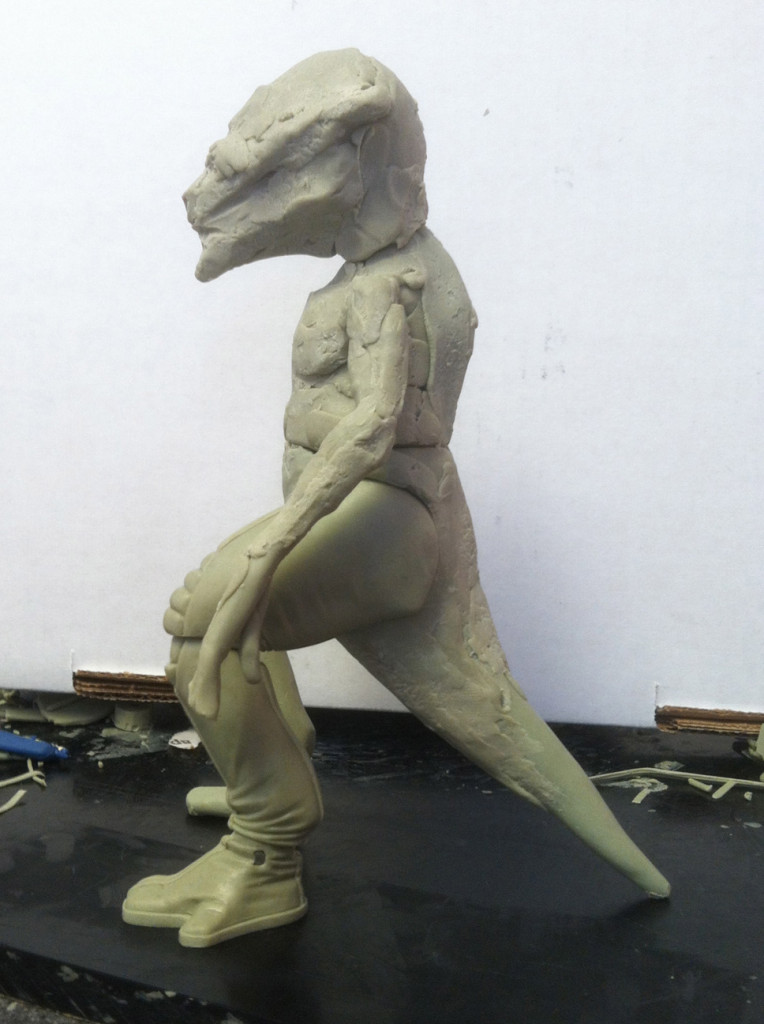
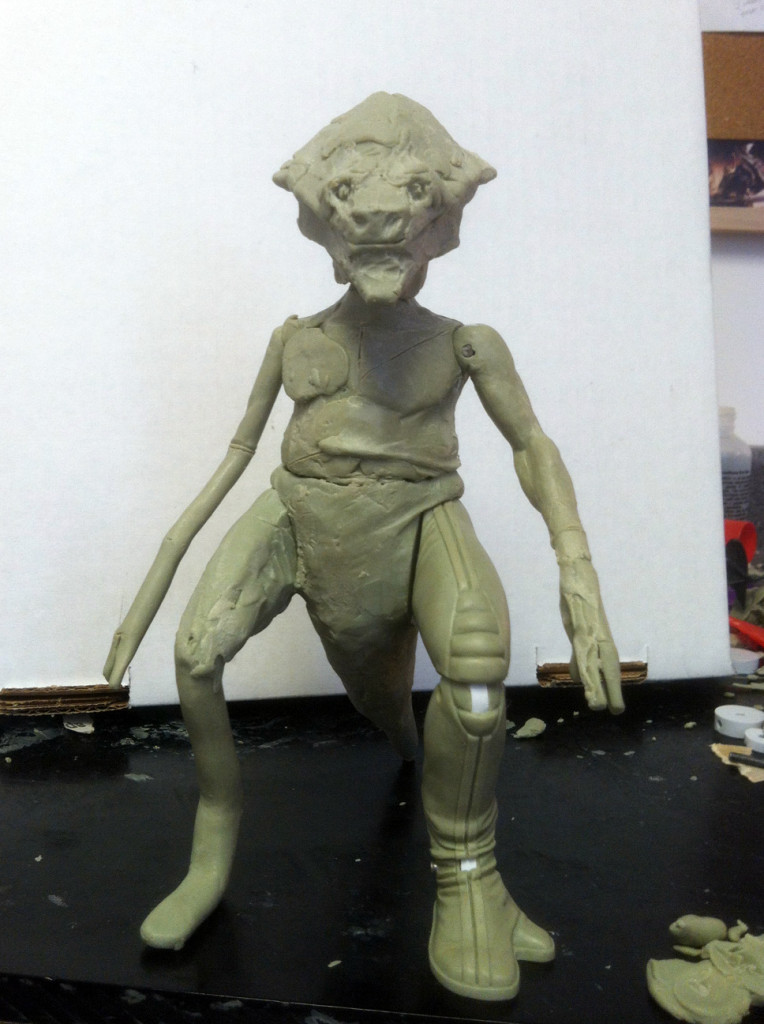
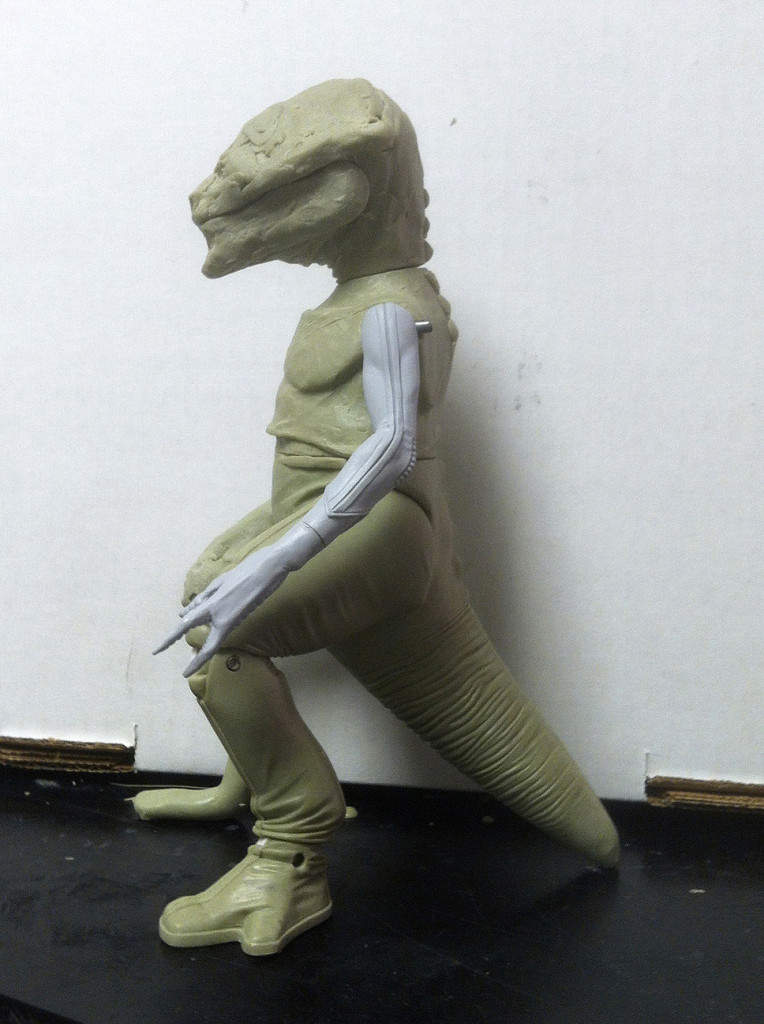
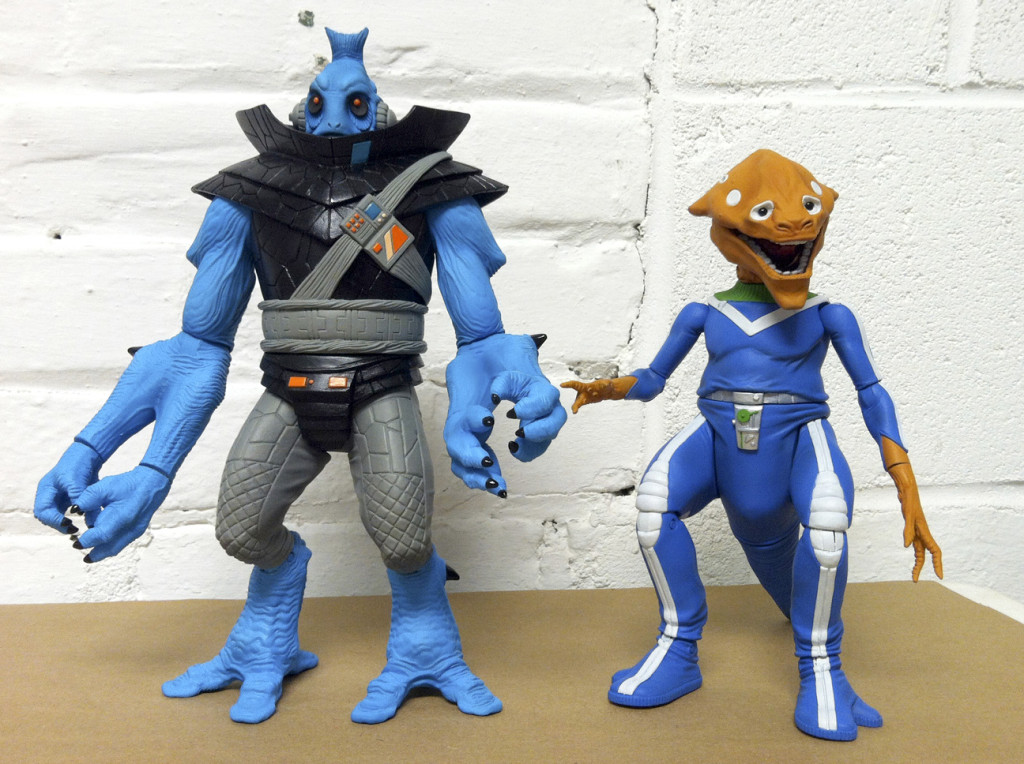
Here is another critical step in the figure making process: making sure the scale is correct! Our goal with Sydot was to make him slightly smaller than Adam/Lord Power in his natural stance. He has a lot of mass, so he won’t look too small in comparison, but it felt like a good fit for a less physical, more cerebral character. Of course if you stand him up completely straight he will be quite tall, but it was that natural bent leg with the tail on the ground stance that we were most concerned with. One of the great successes of the Power Lords designs is that there is a massive variety in shapes, sizes, colors, and anatomical details. This is something that we’ve always been attracted to in an action figure line, and we want to make sure to play it up as much as possible in our version of the the line. Sydot is a very exciting addition to the mix!
Treadaway’s Desk Jockey Part Five: Sydot – Doing The Leg Work
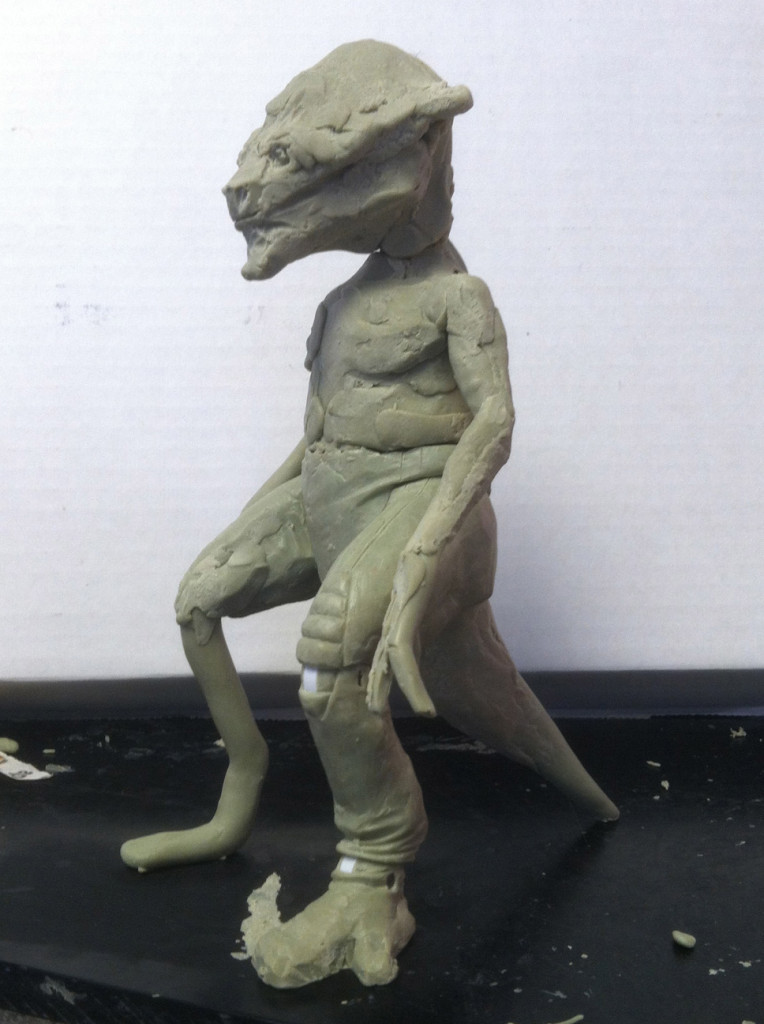
This is where I really start to zero in on the leg. I felt like I needed to lock the leg down before getting too far into this piece. With such and unusual stance and anatomy, I needed to make sure that this was right before moving on. I jumped straight into the articulation too. To save on tooling, we are trying to use existing discs as much as possible, and luckily it worked out well with him. He’s got a mix of Adam and Ggripptogg discs that matched perfectly with his physique!
Treadaway’s Desk Jockey Part 6: Sydot – Leg Cleaned Up
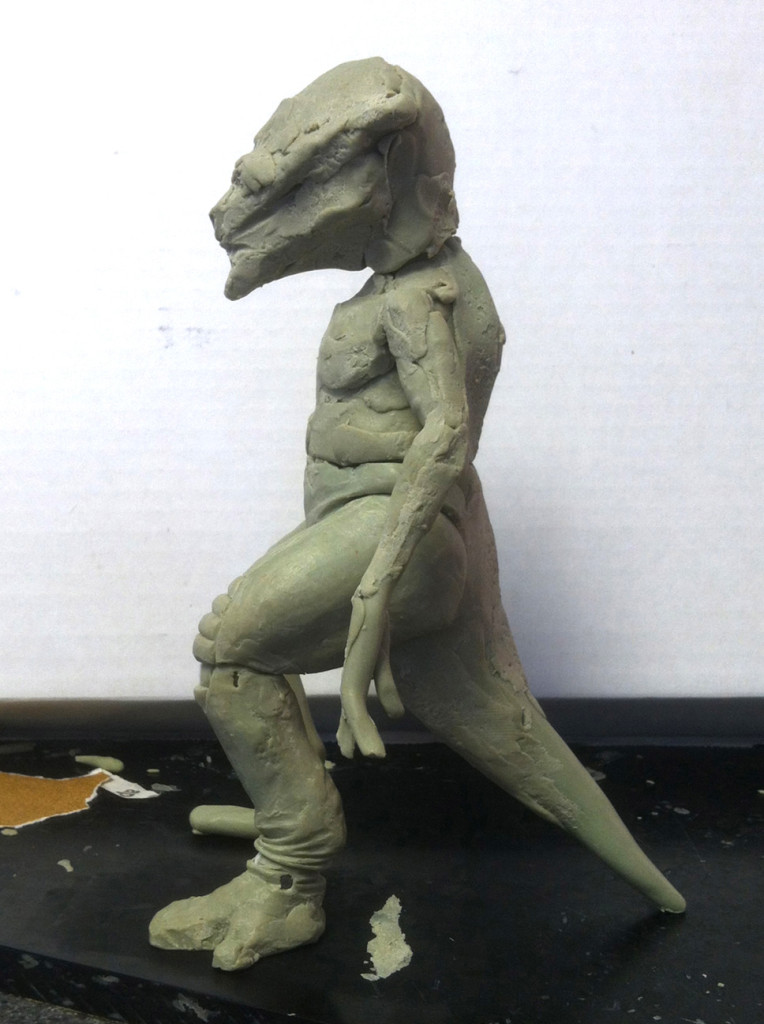
These shots show the finished version of Sydot’s leg. On some figures I will focus on nailing down one side of the figure before getting into matching up the second side. That way I can ensure that the articulation and proportions are finalized before trying it a second time. You can also see here that the crotch/hip area is a bit further along. Part of finishing the leg was making sure that there is a good relationship between the thigh and the crotch/hip area. It needed to look good while retaining full movement both front and back. Getting the articulation to look good and work well is a little more challenging on a figure like this because his natural pose has all of the joints in a bent position. Normally a joint would rest at one extreme or the other when sitting in it’s natural stance. For Sydot the resting points for his natural pose are in the middle of the range of articulation as opposed to, say, Adam Power whose knees are locked up straight in his natural pose. This basically means that the open joint will almost always be showing- so it has to look good! Another interesting part of this figure is to make sure that the discs line up with the details from a color standpoint. We don’t want to end up with a white kneepad with a blue disc in the middle of it!
Treadaway’s Desk Jockey Part 7: Sydot – Armed!
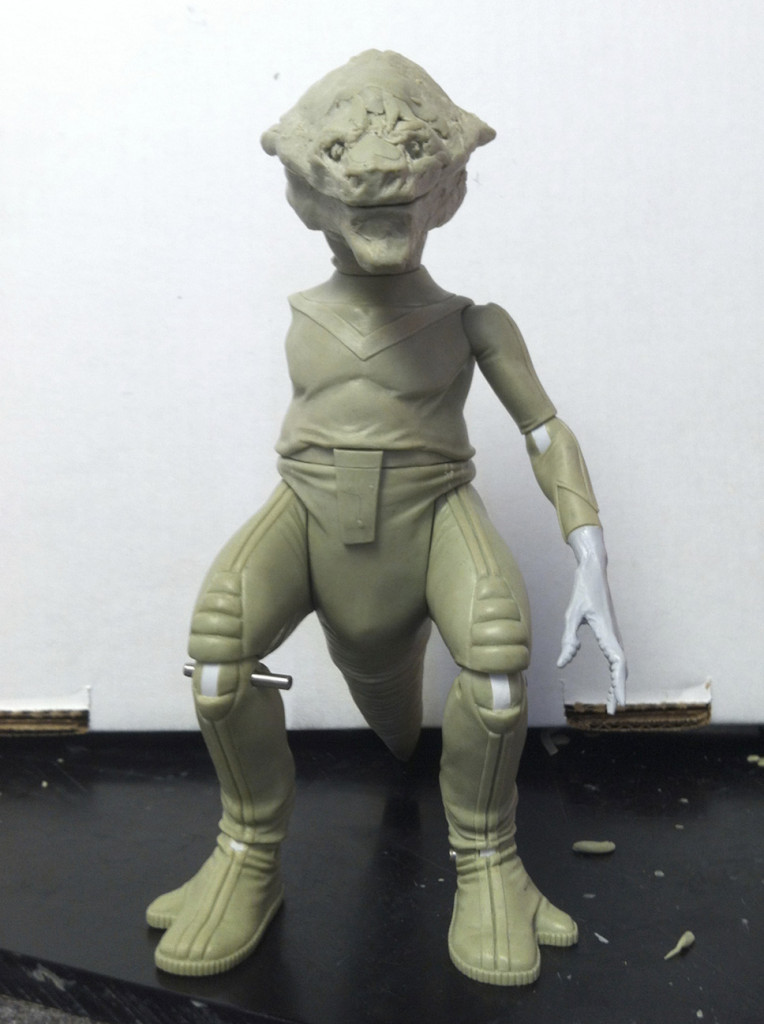
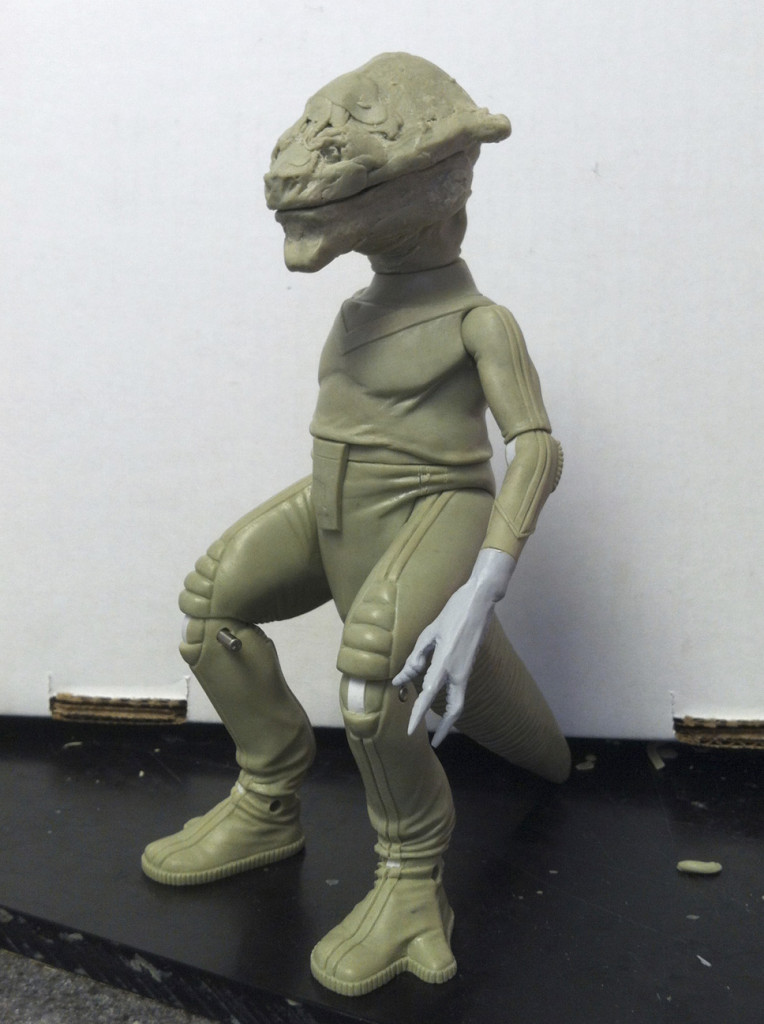
Here we see Sydot with his arm much further along than last time. The anatomy has been tightened up, and the shoulder joint has been roughed in. There has also been a little more work on the upper torso, so I can start to create this entire area of anatomy, and to work out the relationship of the arm to the torso. A huge portion of the time spent on these projects is spent working out the articulation, and making sure that it works. We sculpt working articulation into every joint on these figures to make sure that it is done right, and to make sure that we get a full range of motion on all of the articulation points. Sometimes the working out of the articulation takes as much time as the actual sculpting of the anatomy and details!
Treadaway’s Desk Jockey Part 8: Sydot – Give that Alien a Hand!
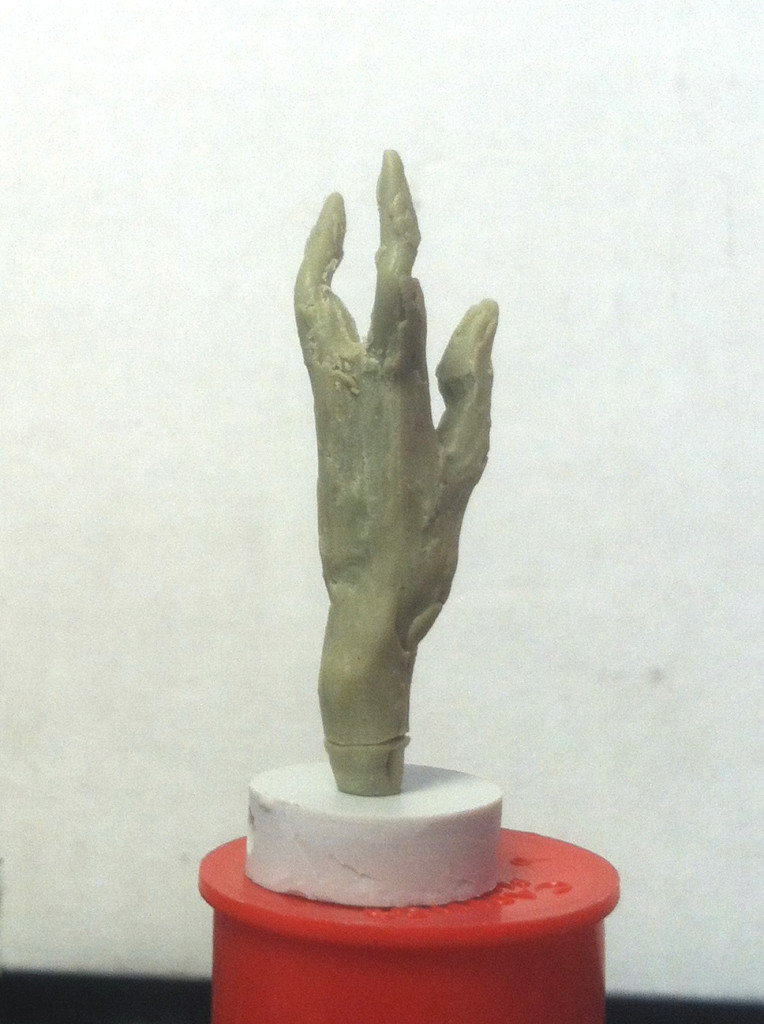
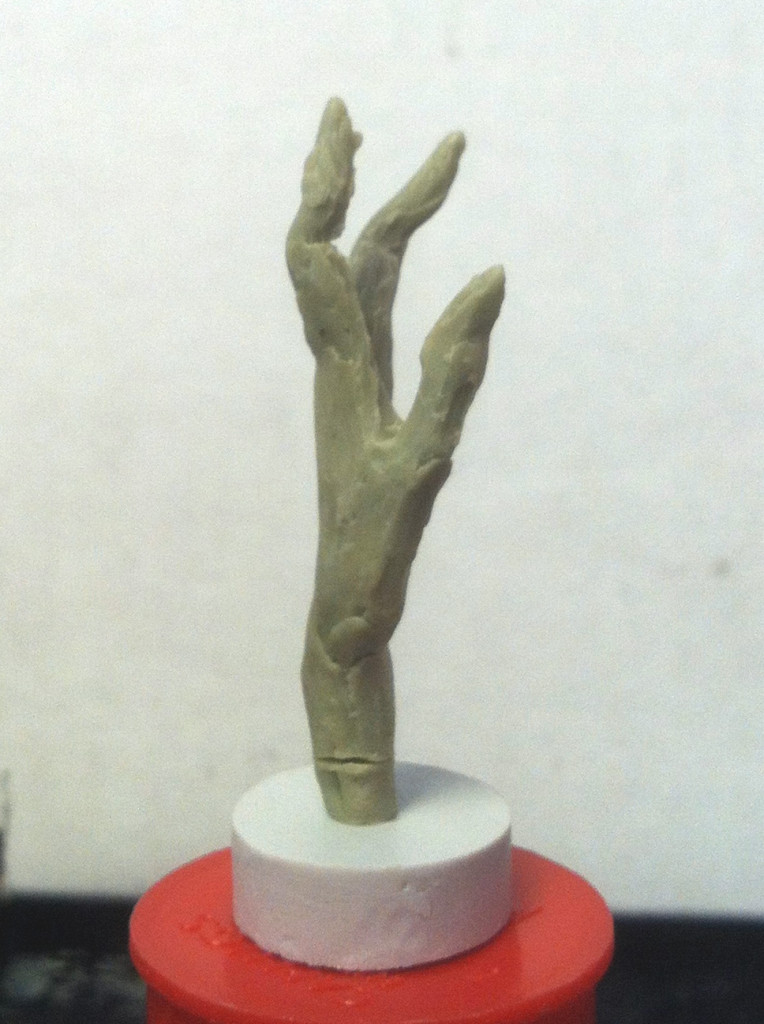
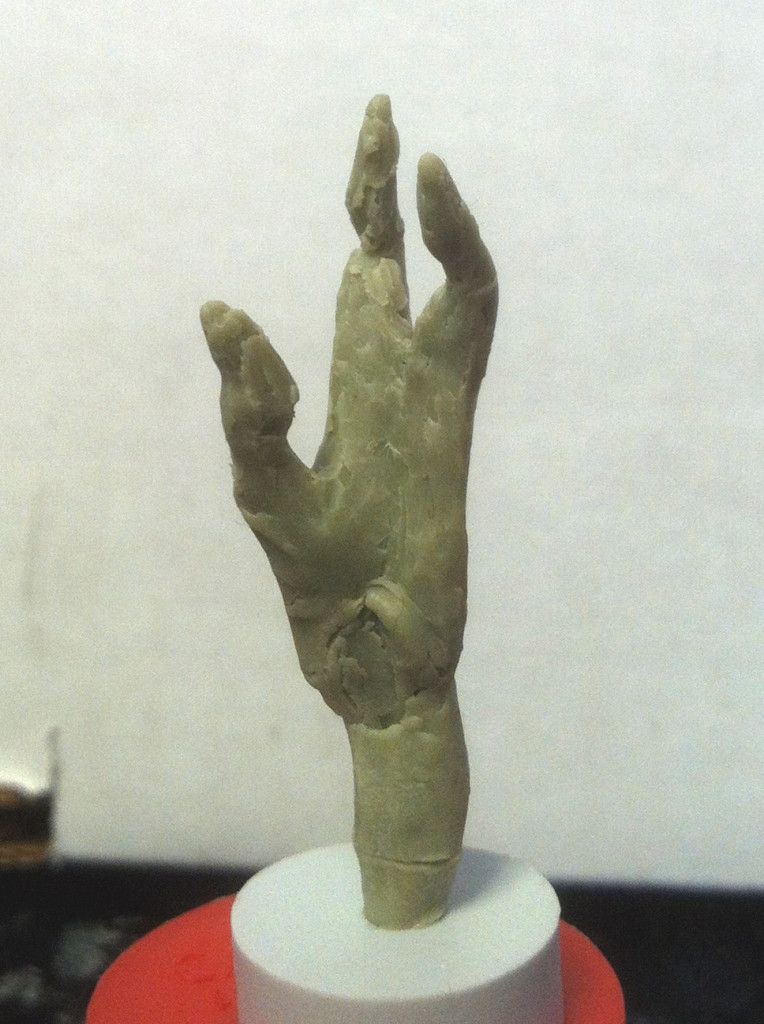
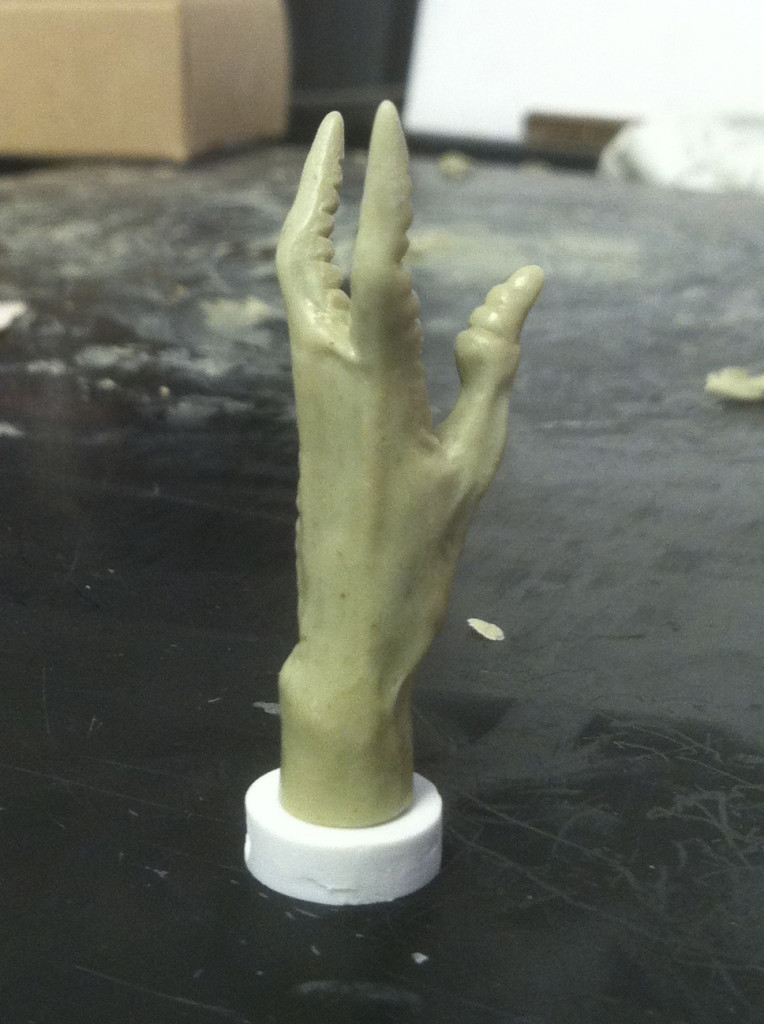
When it was time to work out Sydot’s hand I decided to remove it from the rest of the figure. This way I can get in and really focus on the details. The hand is also pretty thin and delicate, so it allows me to get access to the entire hand without the risk of damaging anything. Oh, if I had a dime for every finger that broke on one of these figures!
Treadaway’s Desk Jockey Part 9: Sydot – Finished Hand
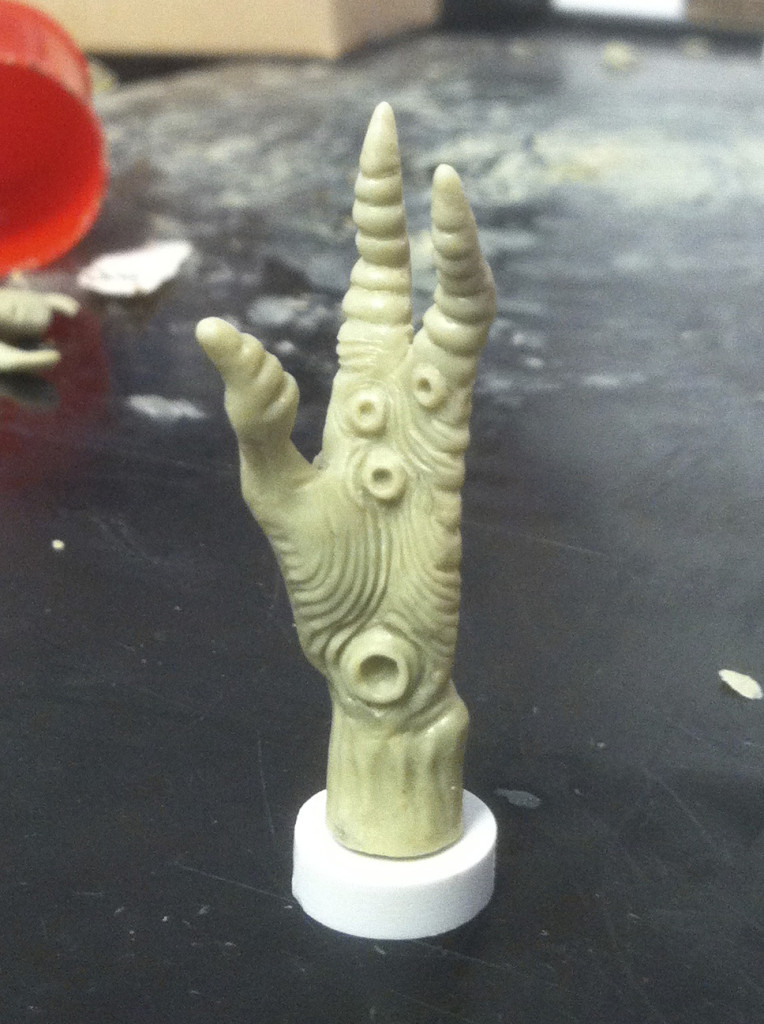
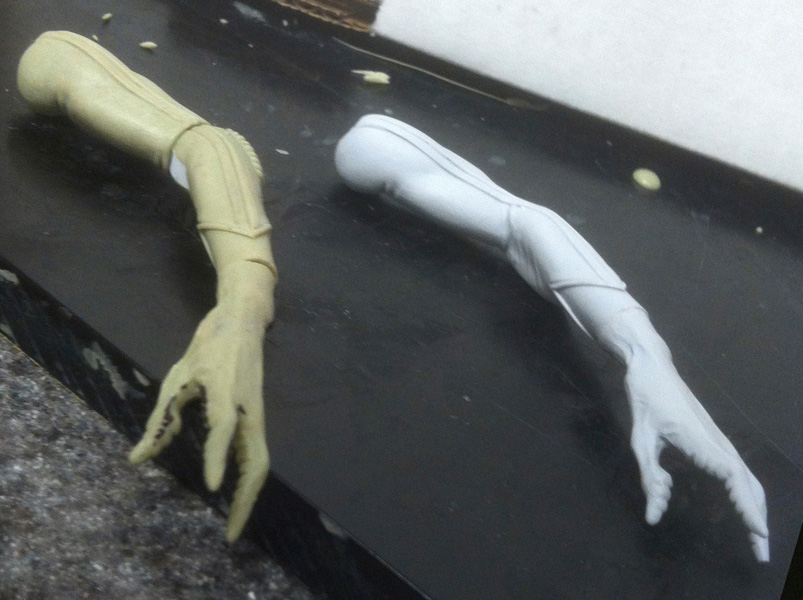
The title says it all here. I have to say that Sydot’s hand design is amazing. This is where having that access to Wayne Barlowe’s original designs really pays off! There is so much character and detail packed into this tiny little hand. It was also fun to go back and look at the original toy and look at these types of areas and compare them to the original artwork. Sydot is a great example of how the tooling requirements for the hard plastic used on the original figure watered down the detail. It’s all there, but very, very washed out!
Treadaway’s Desk Jockey Part 10: Sydot- Arm (Version 1) and Hand Casted
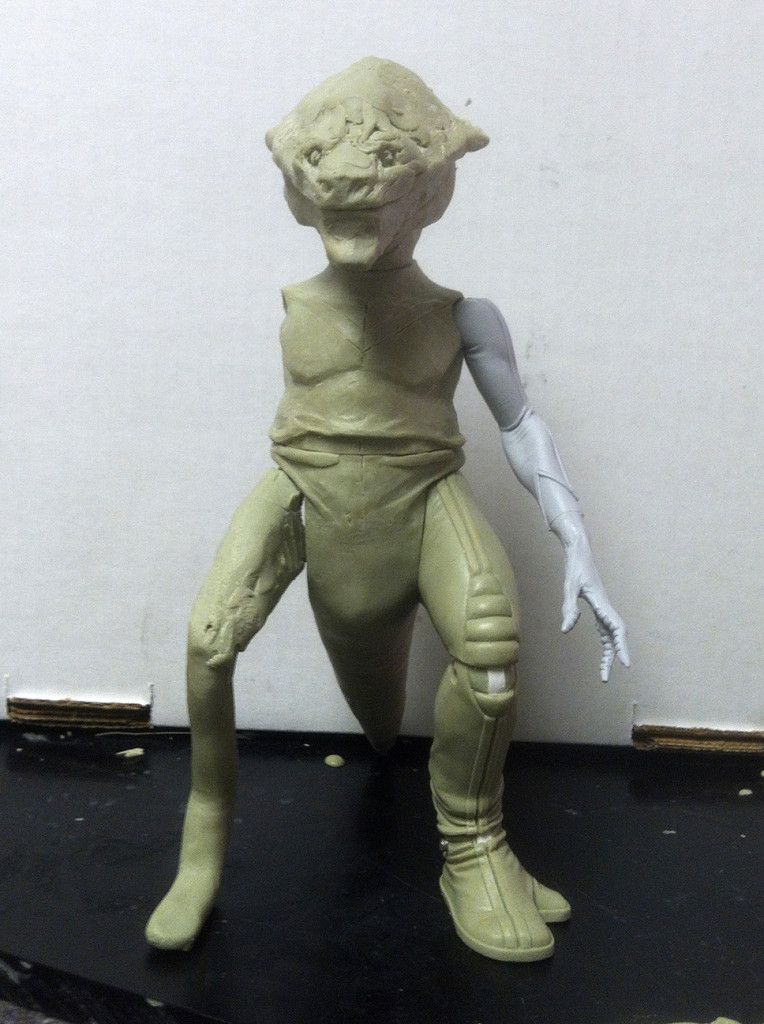
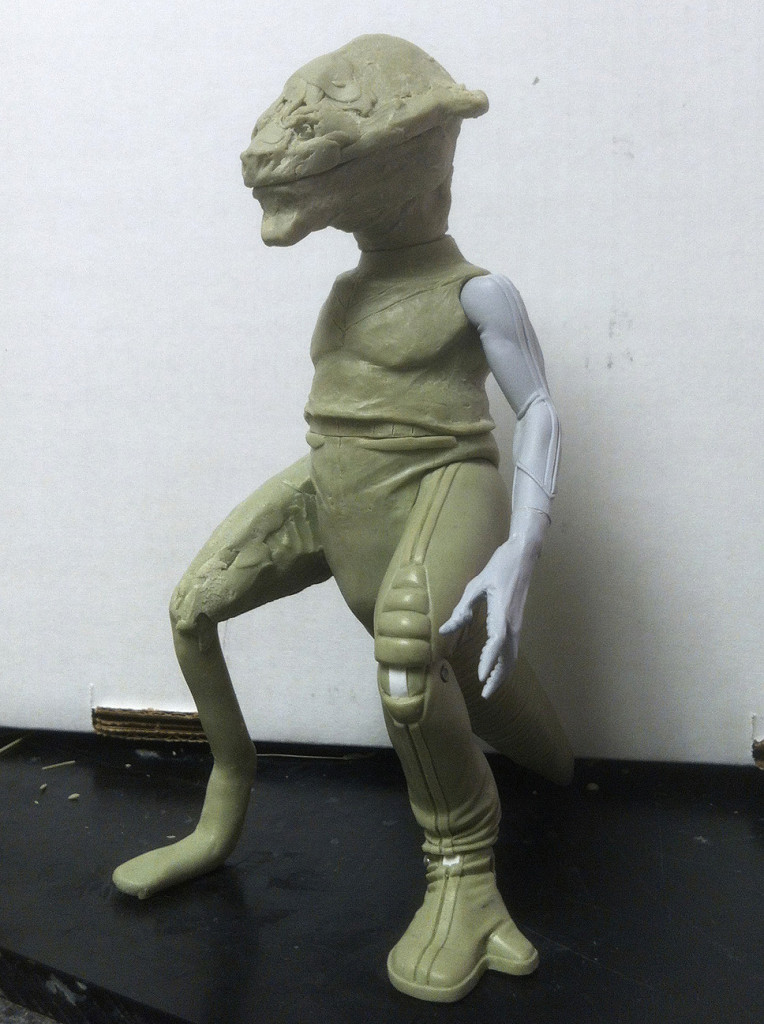
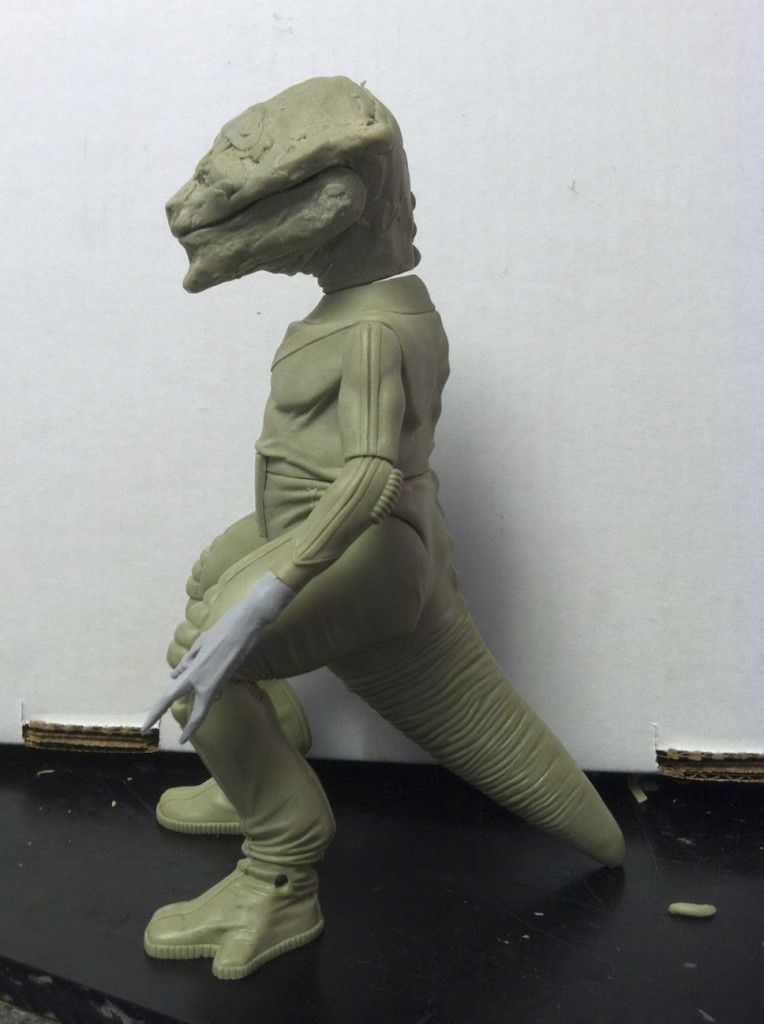
Here we see Sydot with his finished arm and hand casted in urethane plastic. This was done for two reasons: one is that it’s nice to get delicate pieces casted into a hard copy before they break, and the second will be explained in detail in the next installment. You can also see that the torso and crotch area are much closer to completion, and the tail is finished. Even the head and neck are starting to get some attention!
Treadaway’s Desk Jockey Part 11: Sydot – Arm Comparison
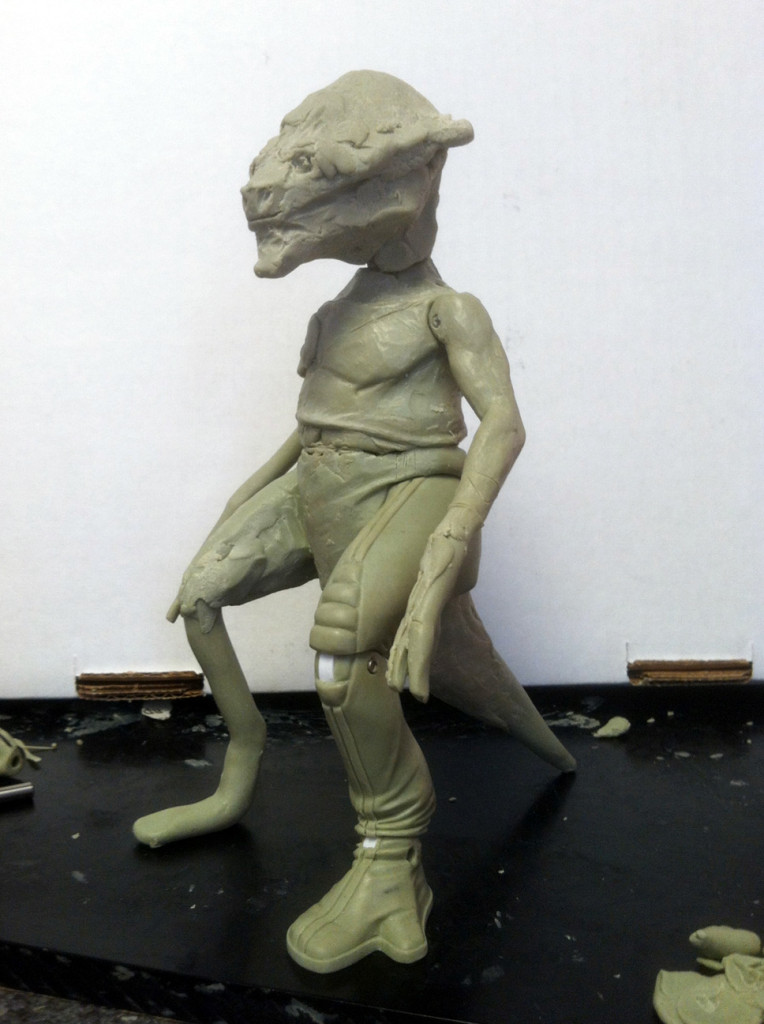
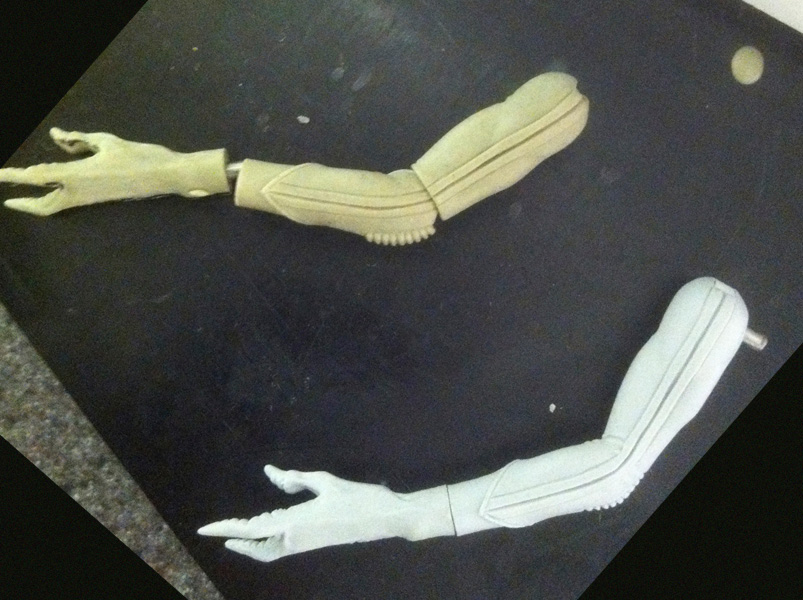
Here’s the main reason that the arm was casted up. I was debating whether or not we could fit elbow articulation into Sydot’s arms for a while at this point. I decided to go ahead and finish and cast up the non-articulated arm first just in case the articulation didn’t work. Luckily, we were able to fit an Adam Power ankle joint in here, and with some strategic re-sculpting the joint worked! These sorts of dilemmas are a common thing, especially when we are working on such small figures. It’s always trying to find the balance of getting the figures to look great while keeping them as playable as possible.
Treadaway’s Desk Jockey Part 12: Sydot – Cleaned Up and Hitting the Home Stretch
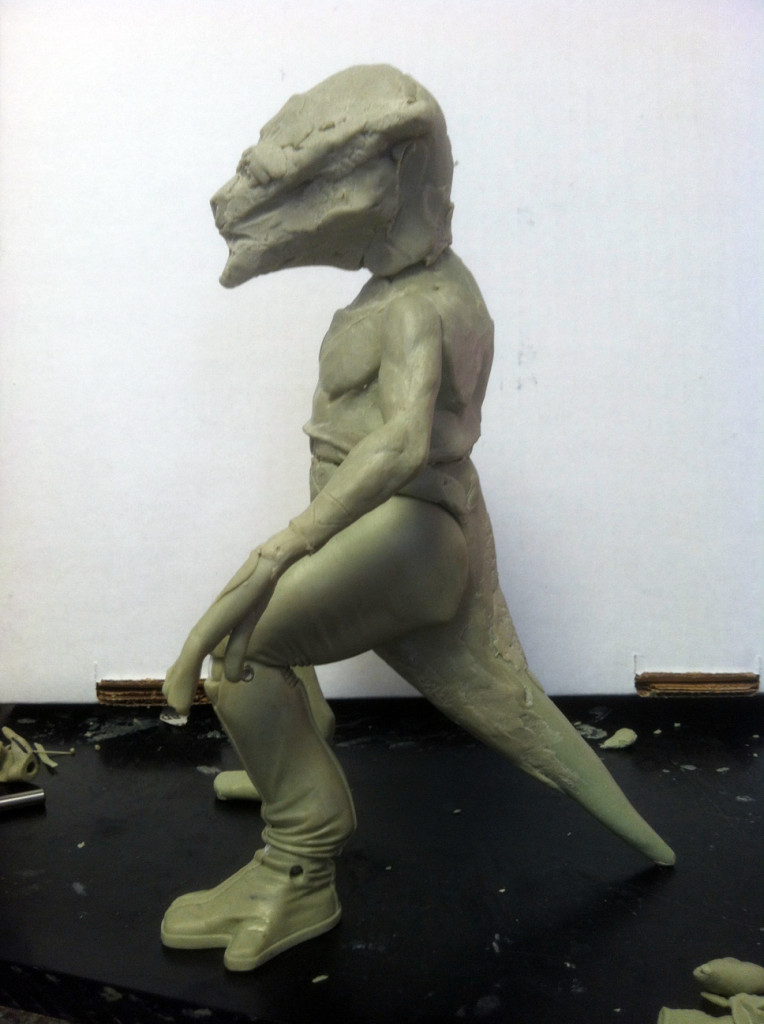
Here he is with his newly articulated arm in place. I’ve also completed his right leg, cleaned up most of the torso and crotch pieces. Aside from matching up his arm and hand, all that’s left on the body is the fine detailing of areas like the belt and turtleneck. Almost there!
Treadaway’s Desk Jockey Part 13: Sydot’s Head!
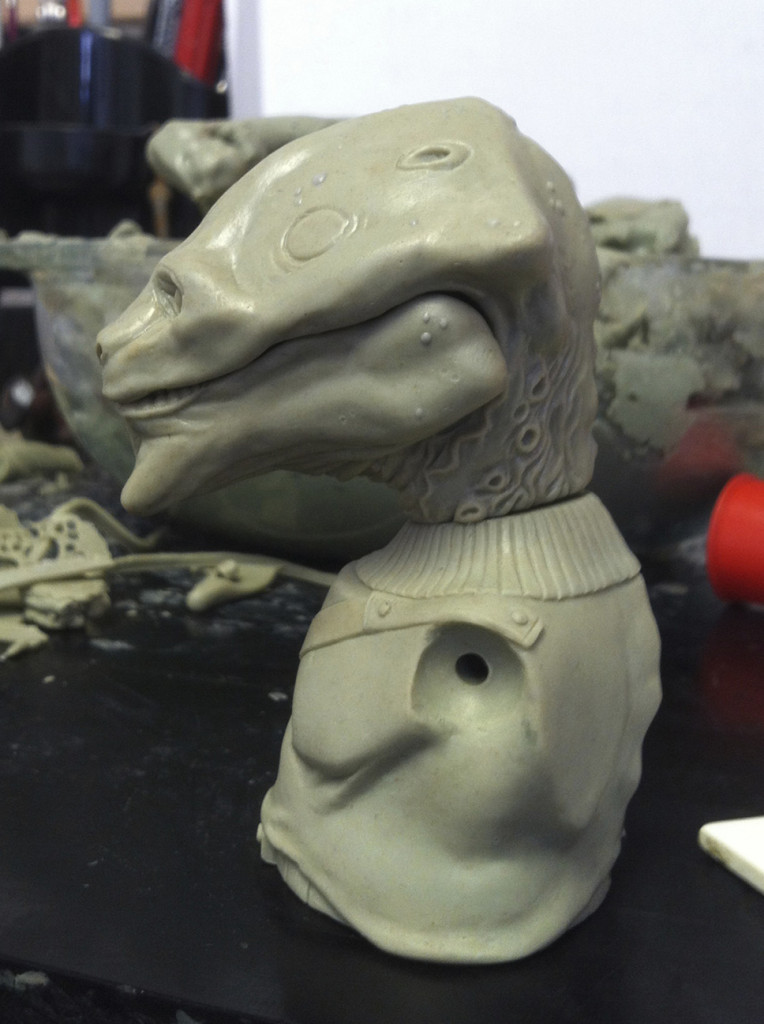
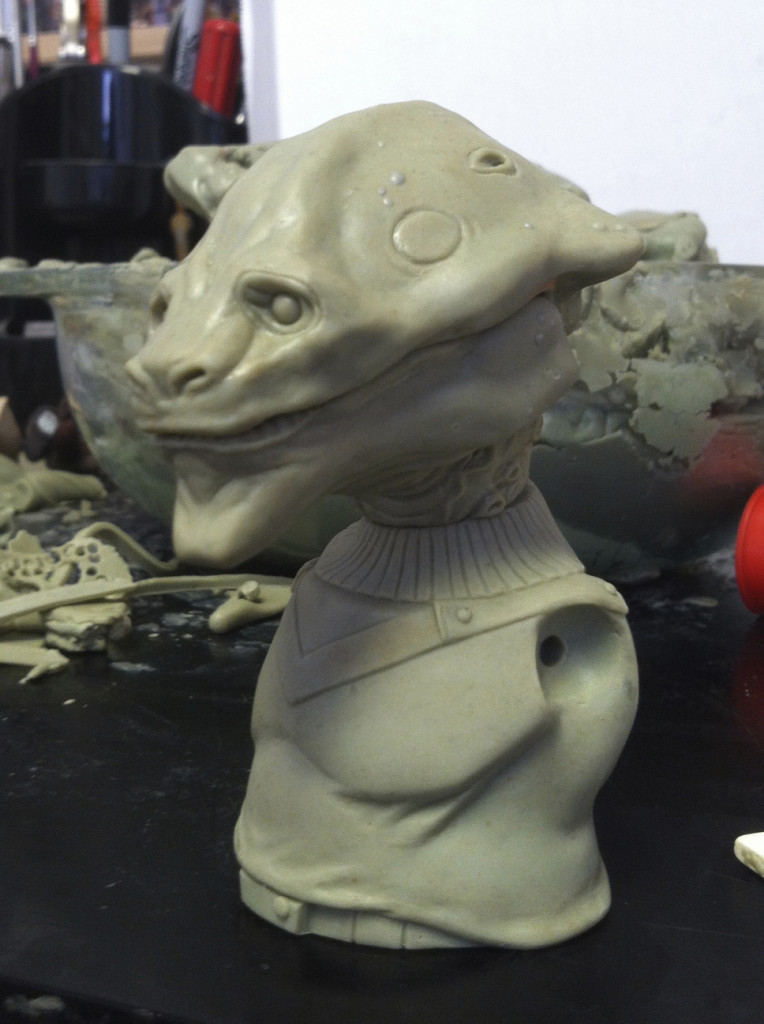
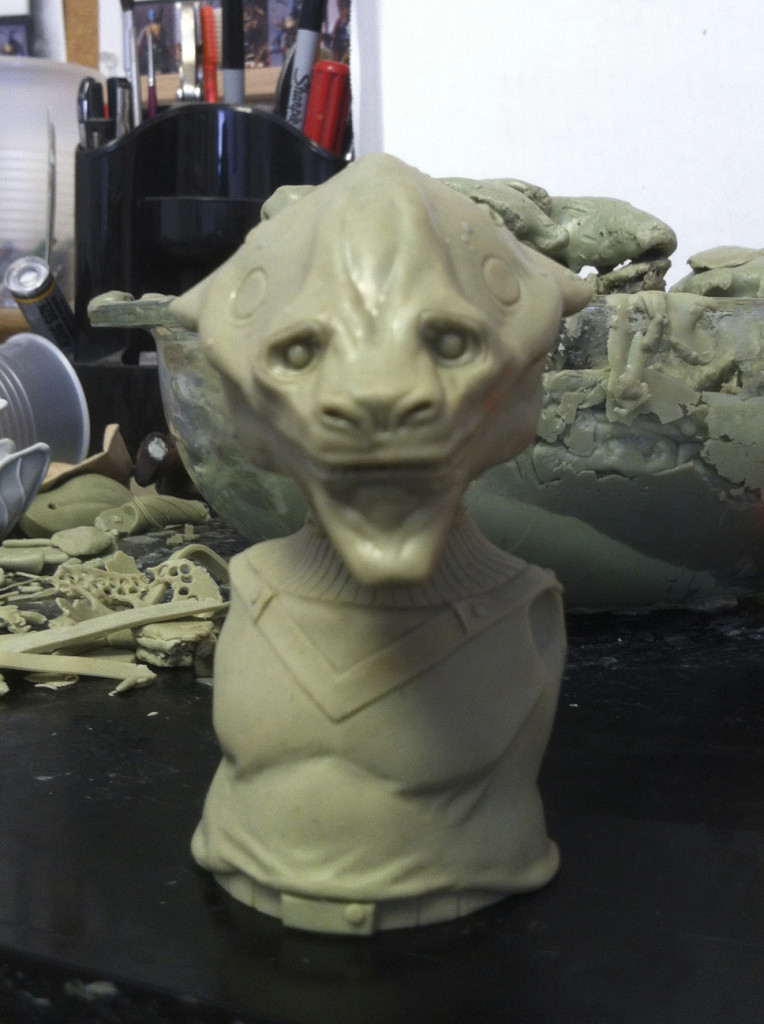
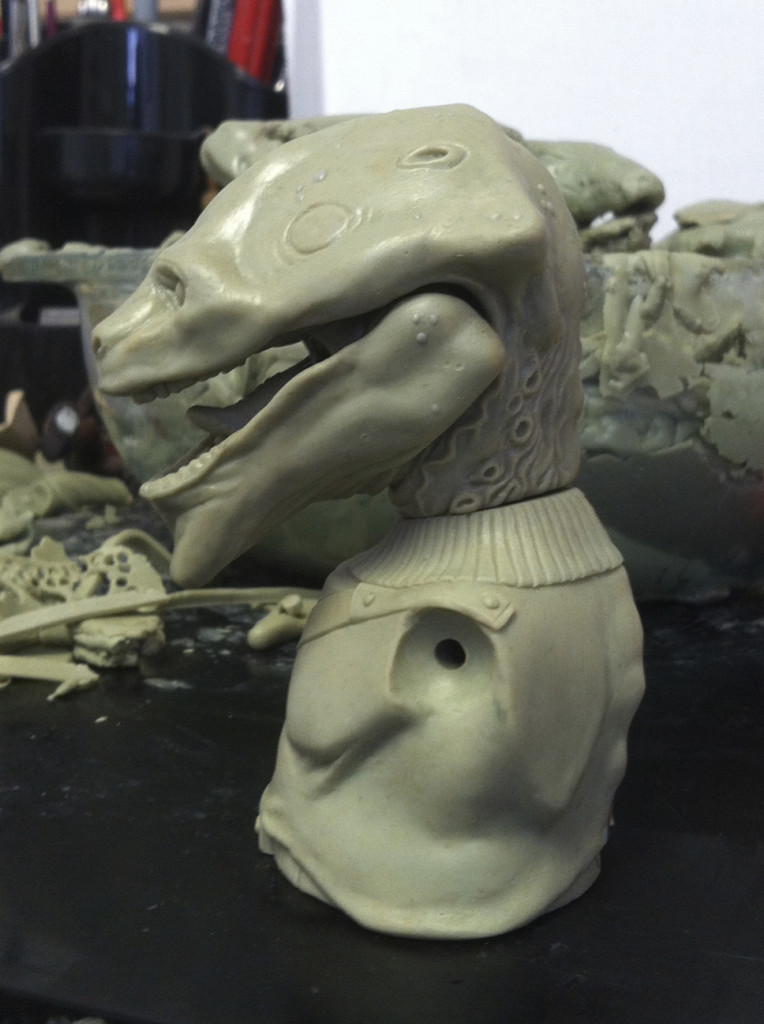
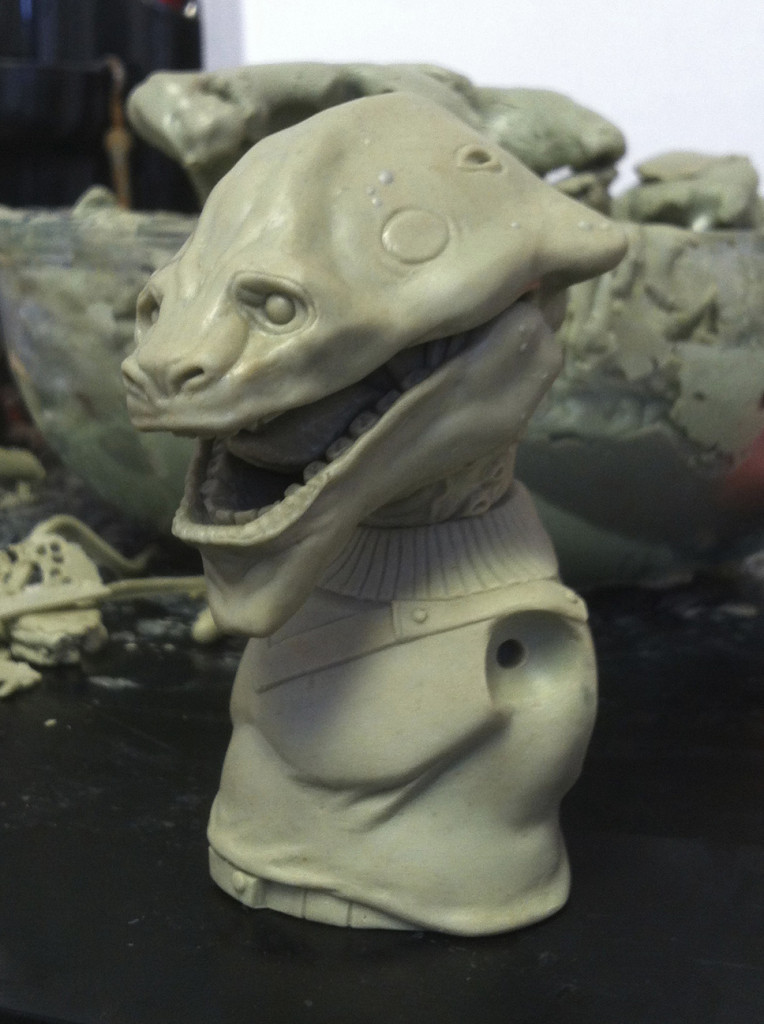
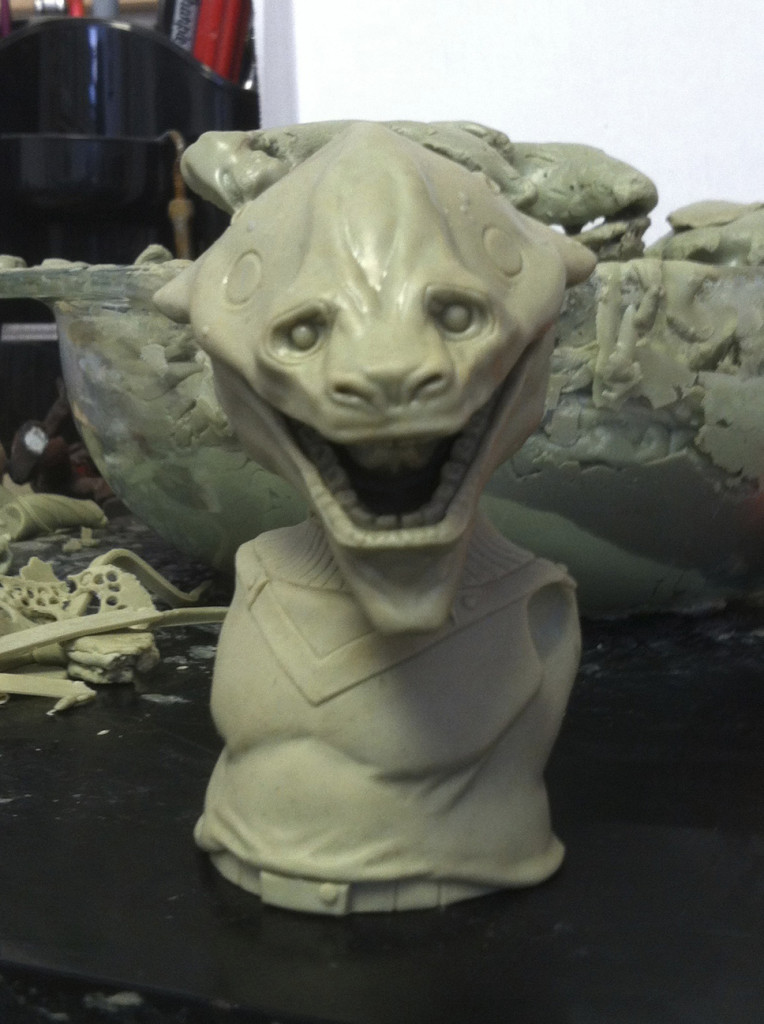
Finally! This is where things get fun! Sydot’s head is simultaneously ridiculous and as alien-cool as it gets. It is also a very complex head in that it has a working jaw and separate tongue piece. ( We will take a closer look at that next time.) This was another case where the original figure was very watered down due to production limitations. If you look closely all of the little suckers and wrinkles are on the neck, but barely! I looked very closely at Barlowe’s art for this one, but I feel like a little of my style snuck it’s way in there too when I look at it now. Not surprising since I’ve been influenced by these figures for thirty years!
Treadaway’s Desk Jockey Part 14: Exploded View of Sydot’s Head!
This is a cool shot showing what the final head looked like broken down into it’s individual pieces. On a head like this there is almost as much detail going on inside the mouth as there is on the outside of the head. Between that and engineering/styling the mouth to look natural while opened and closed, and this is a pretty complex project!
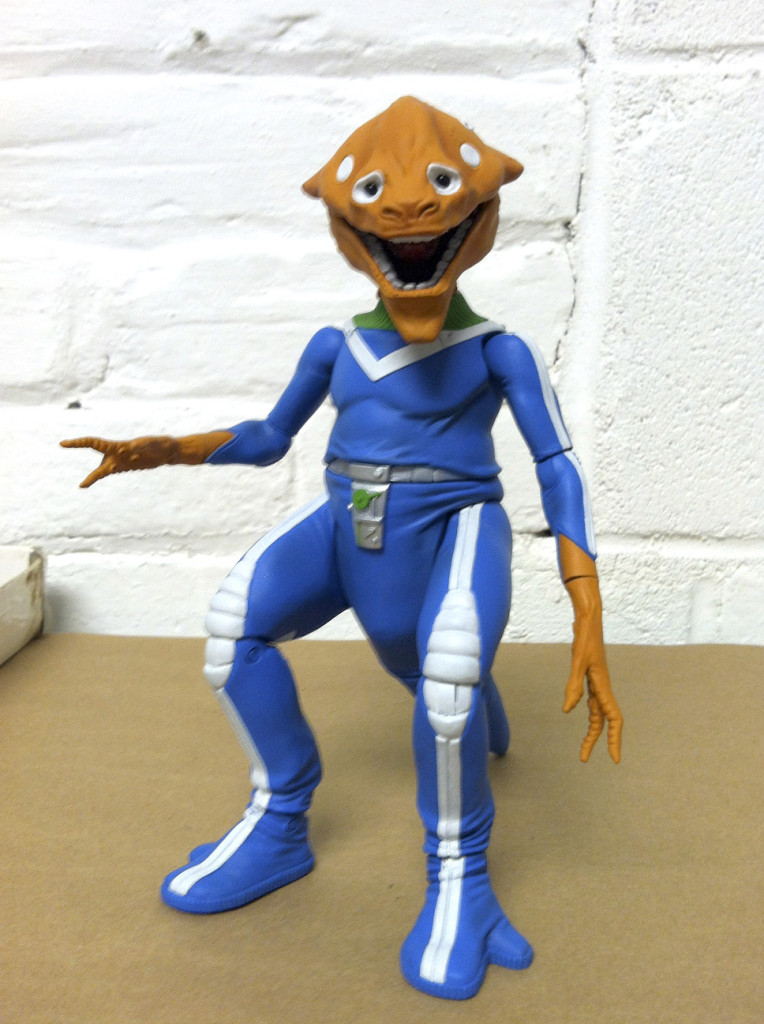
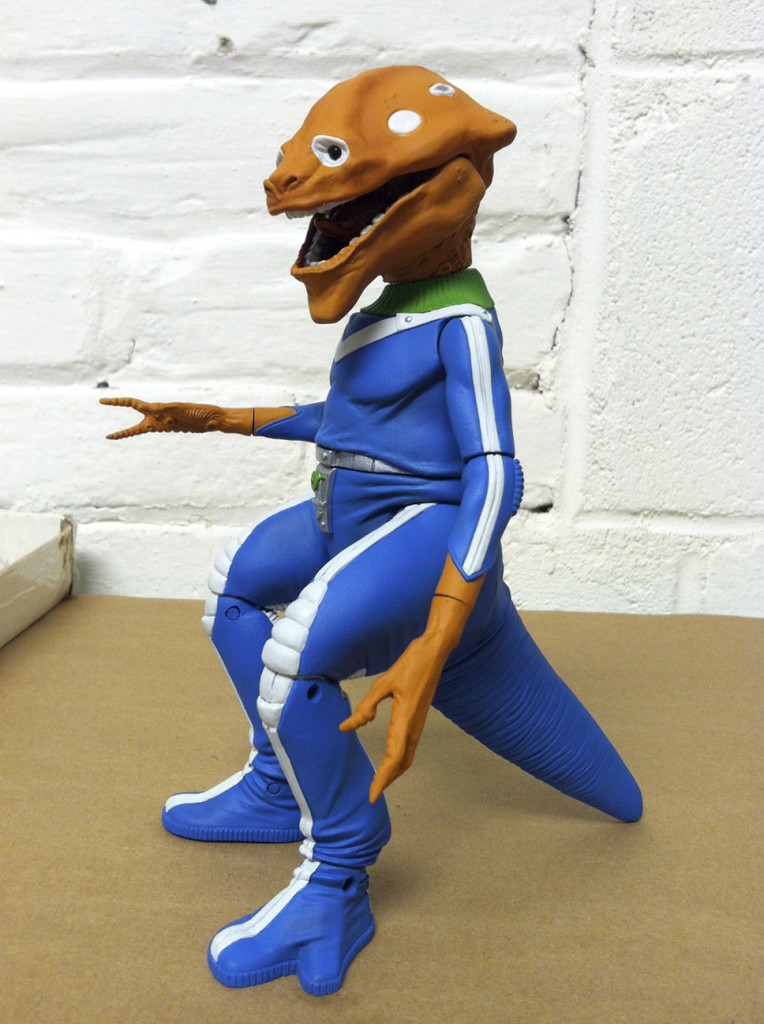
Treadaway’s Desk Jockey Part 15: Sydot – Painted and Ready for Comic Con!
This is such a gratifying stage of the process for me. Up to this point I’ve been watching the figure come together day by day for a number of weeks. Then it’s off to be painted! This is where the process starts to move. On this figure in particular it took Sherri and Jim about a day to paint it up. Sherri mixed all the colors up to match the original, and then Jim uses a spray gun to lay down all of the base coats. After those base colors are in place Sherri takes the piece back and adds all of the fine airbrushing and tight details. As always we are taking things up to the wire, and the gun will be hand delivered to the show. For me, seeing the finished paintmaster for the first time is the closest thing to a reveal that I get, and it’s’ always one of the highlights of the process. All I can say is awesome! At this point we are all so excited to bring the prototype out to San Diego to share with world!



Leave a Reply